
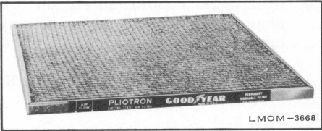
Fig. 29. Arrows Indicate Direction of Air Flow
dust particles. By-passing a stream of water through
the filter in the opposite direction to normal air flow,
the static charge is neutralized allowing the dust to be
washed away. The filter will charge itself when placed
back in operation.
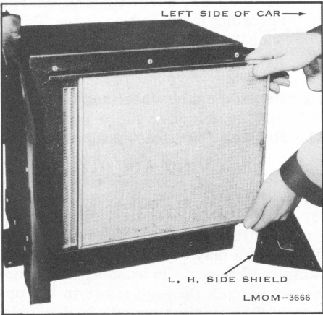
1. Remove the three screws attaching the left
hand side shield to evaporator assembly, and
remove side shield.
2. Pull filter approximately 2 inches toward left hand
side of vehicle. See figure 30.
Fig. 30. Removing Air Filter - Step One
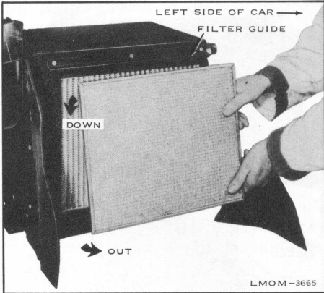
3. Push bottom of filter toward front of vehicle, and
drop down to disengage it from guide track. See
figure 31.
Fig. 31. Removing Air Filter - Step Two 4. Remove
filter. See figure 32.
Fig. 32. Removing Air Filter Step
Three
5.
To install, reverse removal procedure.
CHECKING
CRANKCASE
1. Pump system down by following "Pump Down
Procedure".
2. Loosen compressor crankcase filler plug and
release pressure slowly.
3. Remove filler plug and check oil. Add oil if
necessary. See figure 33. CAUTION: Use special
compressor lubricant only.
4. Replace filler plug.
22